3 Steps To Follow When Replacing a Toilet
8/2/2022 (Permalink)
Steps To Follow When Replacing a Toilet
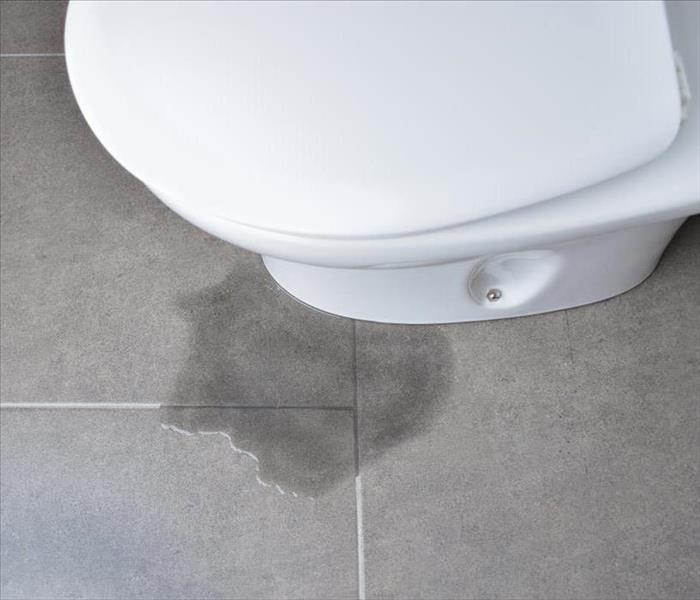
When you have a leaking toilet in your Conroe, TX, home and can't find an adequate toilet repair, you need to replace it. Ignoring a toilet leak can potentially lead to tremendous water damage, so you want to address the issue as soon as possible. Here are three steps to follow when replacing a toilet.
1. Remove the Old Toilet
The first step in replacing the leaking toilet is to remove the faulty one. Turn off the water supply line and flush the toilet a few times to empty the tank as much as possible. Unscrew the supply line from the tank and undo the bolts securing the toilet to the floor. Gently wiggle the toilet back and forth to loosen it from the wax ring and pull the toilet up. Move the toilet onto an old cardboard box and use a sponge or cup to get the remaining water out of the tank.
2. Replace the Seal
Remnants of the wax seal will likely still be on the toilet flange, so clean that off thoroughly to ensure that the next seal sits securely in place. Many water damage mitigation professionals recommend using a non-wax seal over a wax one. Wax seals wear down over time and are highly susceptible to breaking if the toilet bolts loosen and allow the toilet to move even a little bit. Rubber seals are especially helpful if you have a deeper than normal flange because the seals can easily be stacked together, while wax seals can't.
3. Install the New Toilet
Once you replace the seal, place your new toilet on the flange bolts. Carefully line the holes up on the bottom of the toilet, so the bolts slide into place. Have a friend push down on the toilet while you tighten the bolts to ensure there is adequate compression on the seal. Reattach the water hose line to the toilet tank and turn the water main back on.
While it might initially seem like a daunting task, replacing a leaking toilet is a breeze when you follow a few simple steps.


 24/7 Emergency Service
